Have you ever tried to fire up your charcoal grill or prepare charcoal for camp cooking, only to find yourself frustrated with the amount of time and effort required to get the charcoal ready to use?
Have you ever used an insane (and probably unsafe) amount of lighter fluid in a desperate, last-ditch effort to ignite the charcoal? I’ve been there, too. It’s no fun putting all that time and effort into grilling the perfect steak or cooking a delicious camp meal only to have it taste like lighter fluid.
If you want to know the secret to quickly and easily preparing charcoal for cooking every time without the need for lighter fluid or petroleum-based fire starters, here you go: A charcoal chimney is the perfect answer!
You may have seen these cylindrical, metal charcoal chimneys in the grilling section of hardware or outdoor stores. If you are planning a picnic, barbecue, or camping trip where you will be cooking with charcoal, I highly suggest investing in a chimney starter. They usually retail for $20 to $30 and are definitely well worth the price!
Now that you know the secret to perfect charcoal every time, how do you properly use a charcoal chimney starter? Fortunately, it’s very simple. I’ve outlined step-by-step directions below to get you cookin’ on the grill in no time.
Equipment Needed
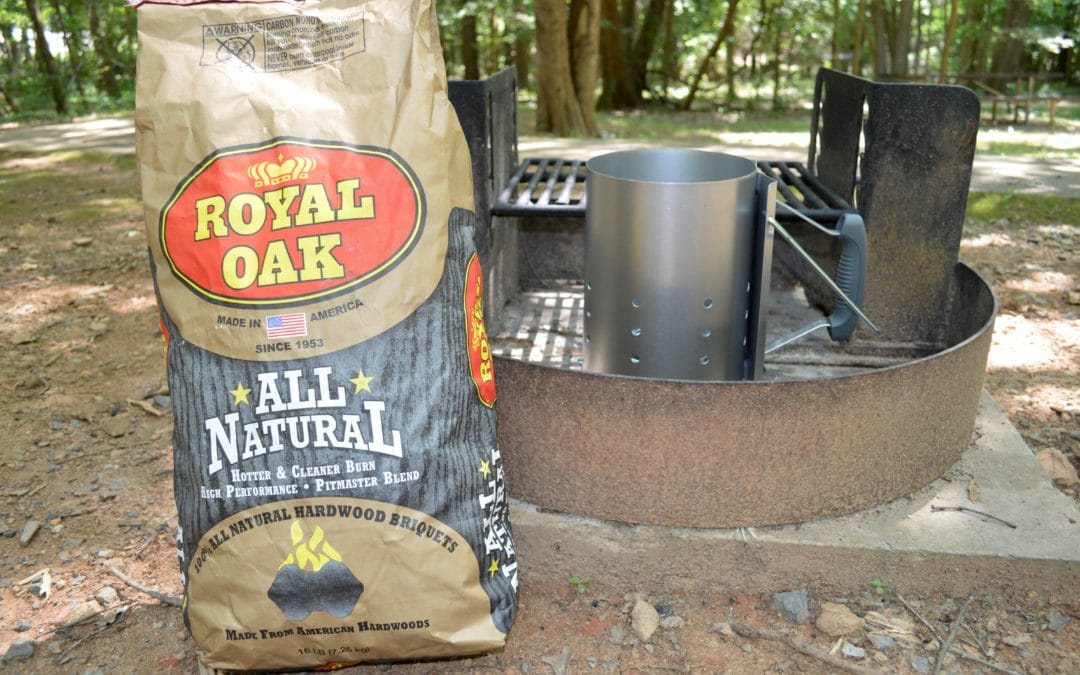
- Charcoal (briquette or lump) – Do NOT use Match Light or Easy Light type charcoal, as these are pre-coated in lighter fluid and would be dangerous for use in a chimney starter.
- Charcoal chimney
- A few pieces of old newspaper
- Matches or a long-barrel lighter
- Heavy-duty, heat-resistant gloves
- Long-handled metal tongs for positioning hot coals
Step One: Prepare the Cooking Area
If you’re using a traditional barbecue grill, remove the grill lid and the metal cooking rack.
If you’re using a fire ring at a campsite, make sure the area inside the ring is level and free of leaves and debris.
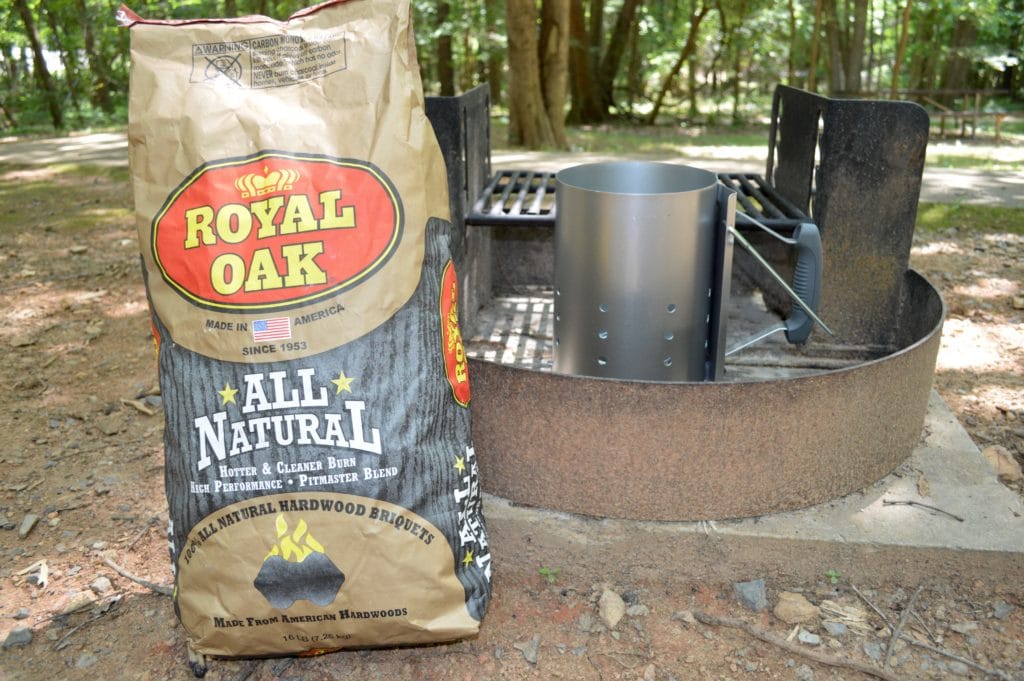
Set your chimney starter in the center of the barbecue grill on the charcoal grate, or on the ground inside the fire ring.
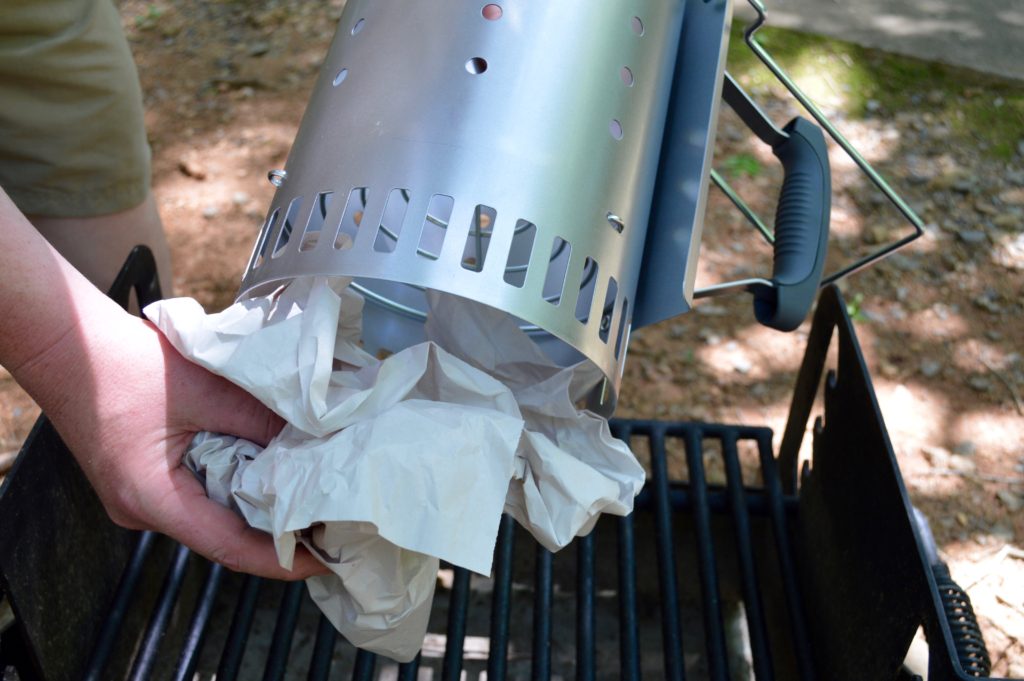
Step Two: Add Firestarting Material
Crumple up a piece or two of newspaper and place it in the bottom chamber underneath the chimney starter. Make sure not to pack the paper too tightly, as air needs to circulate to fuel the fire.
Alternately, use chimney starter lighter cubes or natural fire starter bundles. They are odorless, non-toxic fire starters designed for use with charcoal chimneys. They can even be lit when wet!
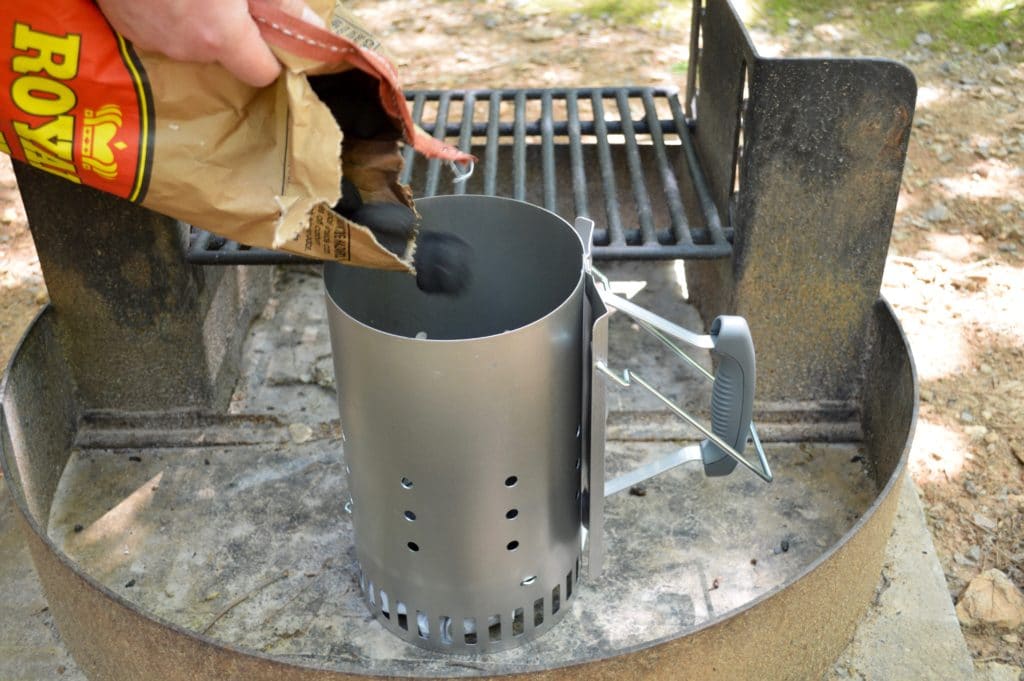
Step Three: Add Charcoal
Place the chimney starter on the charcoal grate of your barbecue grill or on the ground in the center of your fire ring.
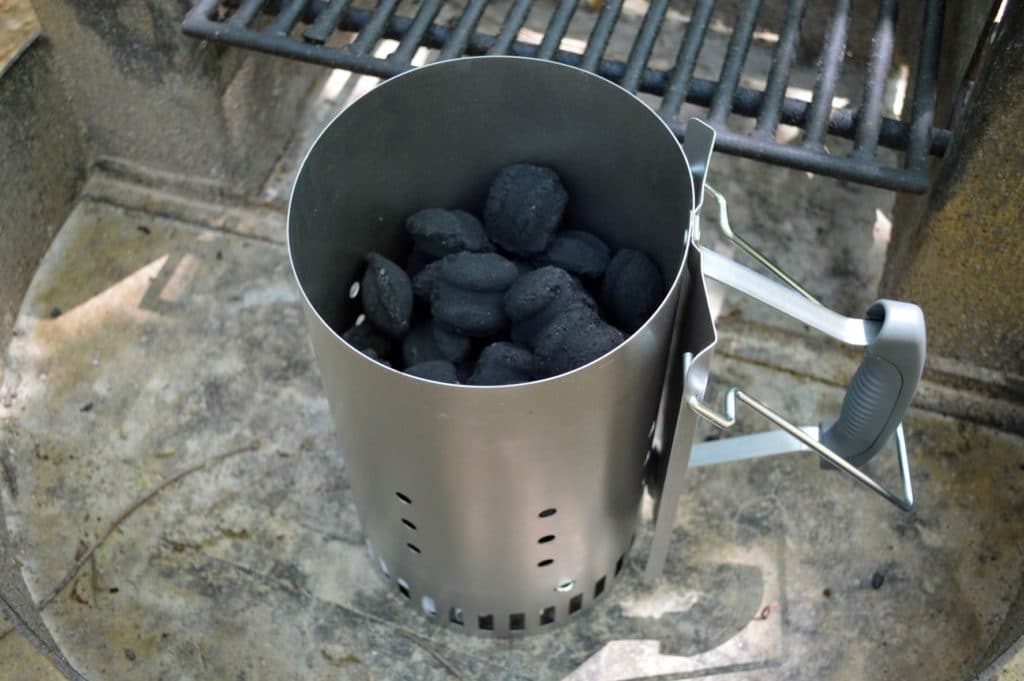
Fill the top portion of the chimney starter with charcoal. Don’t fill the chimney completely to the top. Leave about an inch of space between the top layer of charcoal and the top of the chimney starter. This allows for complete burning of the top layer of charcoal. You can always use less charcoal if that’s all you need.
If you need a specific number of charcoal briquettes for dutch oven cooking, I always recommend adding about five additional briquettes to the chimney starter. This way, if one or two disintegrate while heating up, you will still have enough to heat your oven to the recommended temperature.
Be sure to download and print a copy of the Dutch Oven Charcoal Temperature Chart here – it’s the perfect guide to correctly heating your dutch oven for baking, sautéing, frying, and roasting using charcoal.
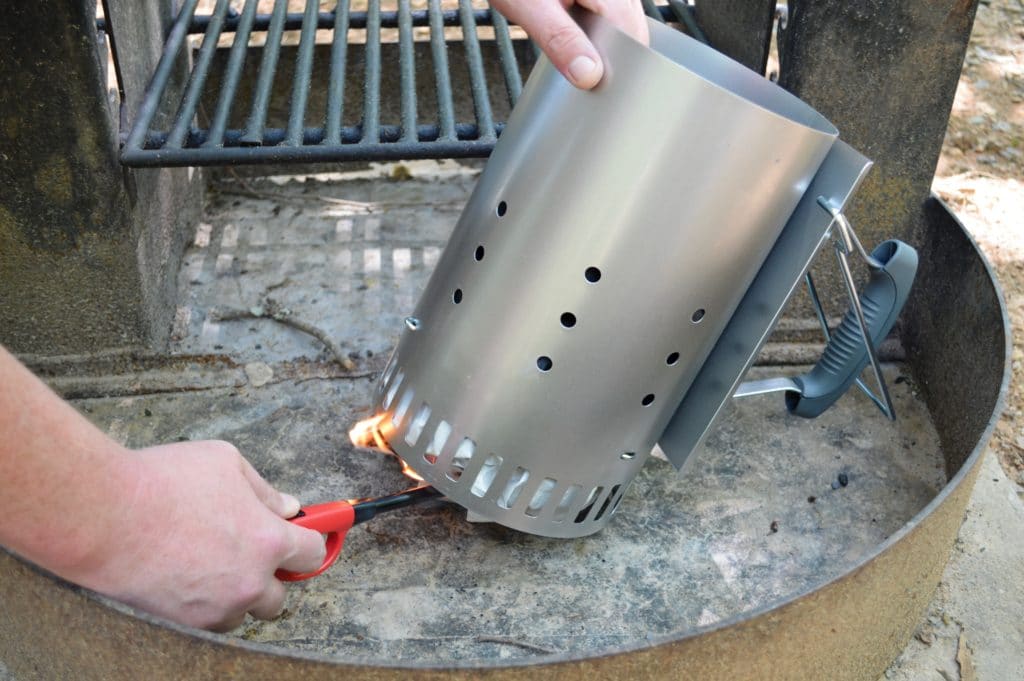
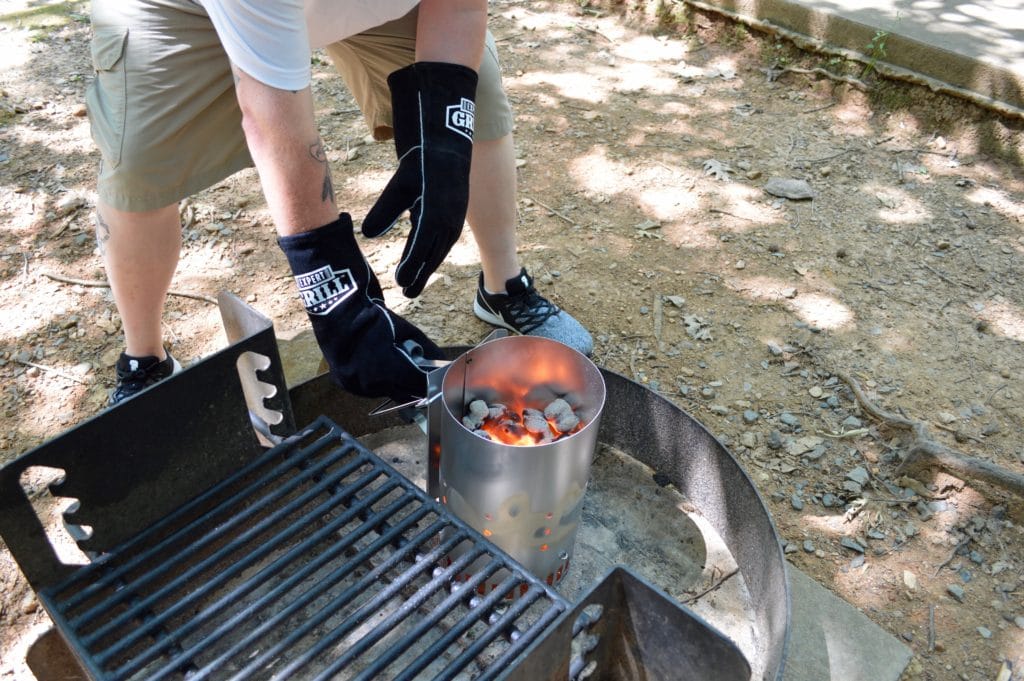
Step Four: Light Chimney Starter
Now it’s time to light the chimney starter. Using a match or lighter, ignite the newspaper or lighter cubes underneath the chimney.
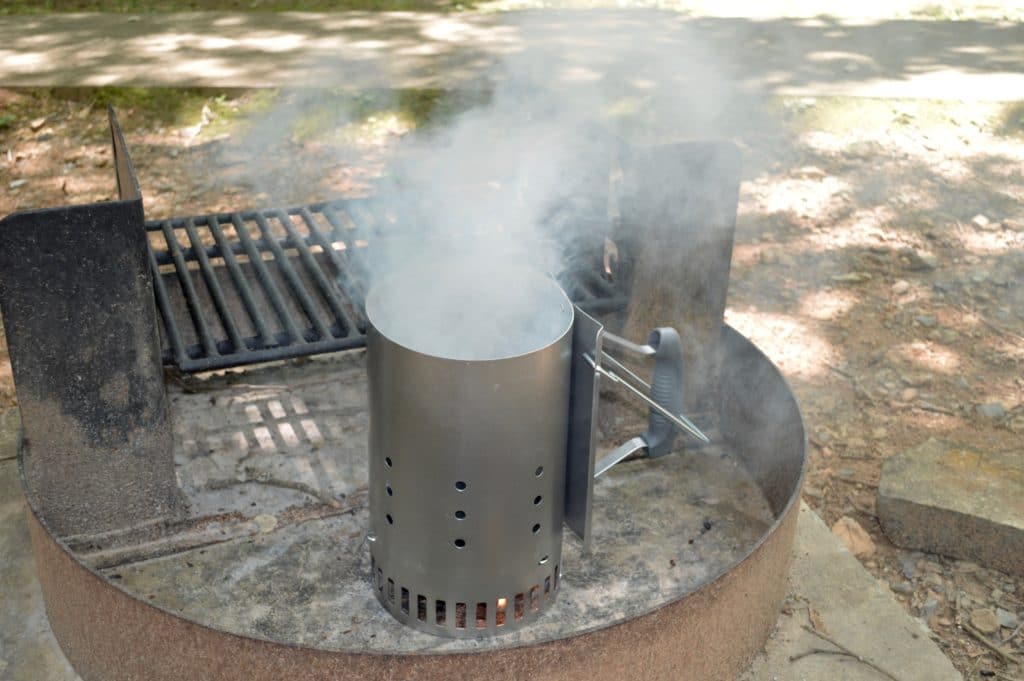
Step Five: Let Charcoal Burn
Once lit, allow the chimney to sit undisturbed for approximately 10 to 20 minutes, depending on the amount of charcoal used. As the charcoal ignites and burns, you will see flames and smoke coming from the top of the chimney.
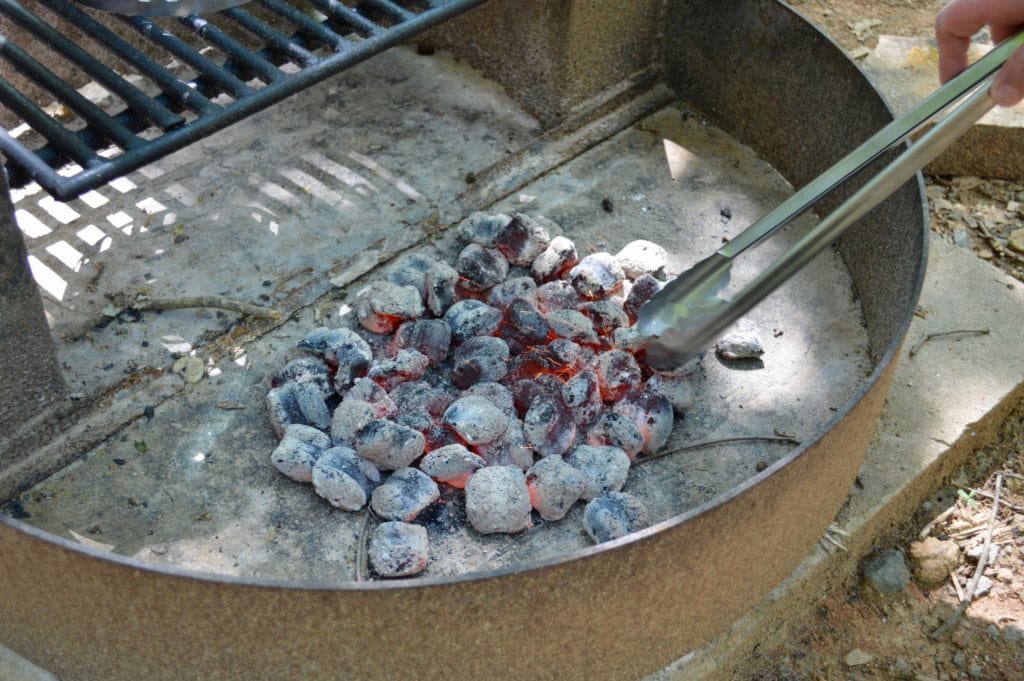
When the smoke subsides and the coals are glowing red with a little bit of grey ash on top, they are ready to use for cooking.
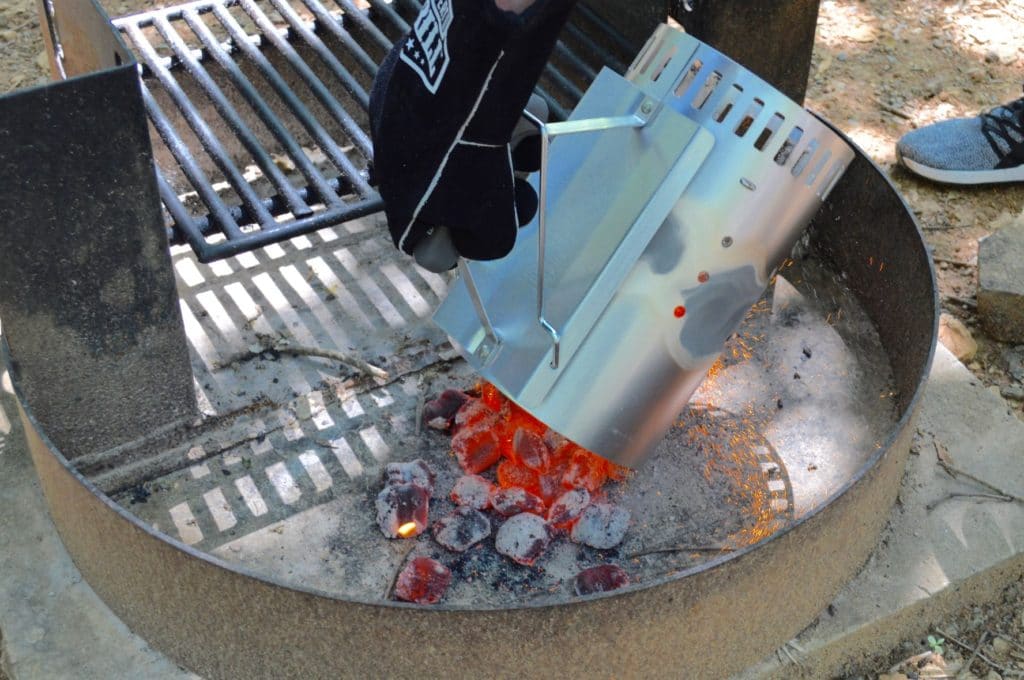
Step Six: Remove Charcoal For Use
Carefully dump the hot coals into the barbeque grill or the fire ring, or arrange coals on top and bottom of your camp dutch oven if you’re cooking with one. The use of heavy-duty, heat-resistant gloves is recommended.
Use tongs or a long-handled metal cooking spatula to arrange the hot coals for cooking.
Step Seven: Safely Cool Used Charcoal Chimney
Always remember to place the used charcoal chimney on a heat-resistant surface out of the reach of kids and pets while it cools. There may be residual live embers in the chimney, so take care to avoid an accidental grass fire in your backyard or campsite.
Don’t forget to download and print a copy of the Dutch Oven Charcoal Temperature Chart here. Happy cooking! 🙂
This post may contain affiliate links. This means if you click on a link and make a purchase, I will receive a small commission, at no cost to you, that makes it possible for me to keep the Campfires and Cast Iron site up and running. Please see our disclosure policy for details.