Whether you’re cooking for two people or a large crowd, these super-simple camping nachos are assembled, cooked, and ready to eat in about 30 minutes! Pre-cooking the taco meat at home and using a disposable foil pan makes cooking, serving, and clean-up fast and easy. I usually use an 8×8-inch foil pan for two to four people, but you can use a larger pan and double or triple the recipe when serving a larger group.
These camping nachos are easy to customize with a variety of toppings to suit anyone’s taste and can also be made gluten and dairy-free. They can be cooked on charcoal, over campfire embers, or on a grill. So have a seat at the picnic table and dive into a flavorful, cheesy nacho dinner with your friends and family!
Equipment
- Foil Cooking Pan (an 8×8 pan was used for this recipe)
- Foil Lid For Pan, or Heavy-Duty Aluminum Foil
- Charcoal and Chimney Starter
- Long-handled tongs
- Heat-Resistant Gloves
- Can opener
Ingredients
- 1 Pound Lean Ground Beef or Turkey
- 1 Packet Taco Seasoning (check for gluten-free, if needed)
- 1 Large Bag Tortilla Chips (check for gluten-free, if needed)
- 2 Cups Shredded Cheese (or dairy-free cheese alternative)
- 1 Can Black Beans (15.5 oz, drained)
- 1 Can Sliced Black Olives (2.25 oz, drained)
- 1 Medium Tomato (diced)
- 1 Bunch Green Onions (sliced)
- Other Optional Toppings: Green Chiles, Sliced Jalapenos, Roasted Corn, Salsa, Liquid Nacho Cheese (This is my favorite dairy-free nacho cheese)
Cooking Instructions
At Home Before Camping:
Brown and drain the ground meat, then mix in the taco seasoning. Let the taco meat cool and store it in a ziplock bag in the cooler for up to three days.
To Cook While Camping:
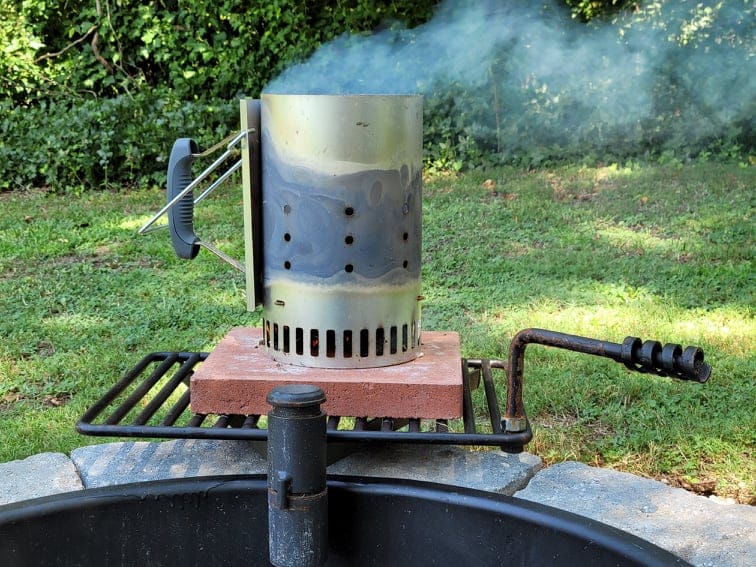
1. If using charcoal briquettes, prepare them now by lighting the charcoal chimney starter. You will have about 10 minutes to assemble the nachos before the charcoal will be ready to use. If you’re unsure how to use a chimney starter, refer to this instructional article.
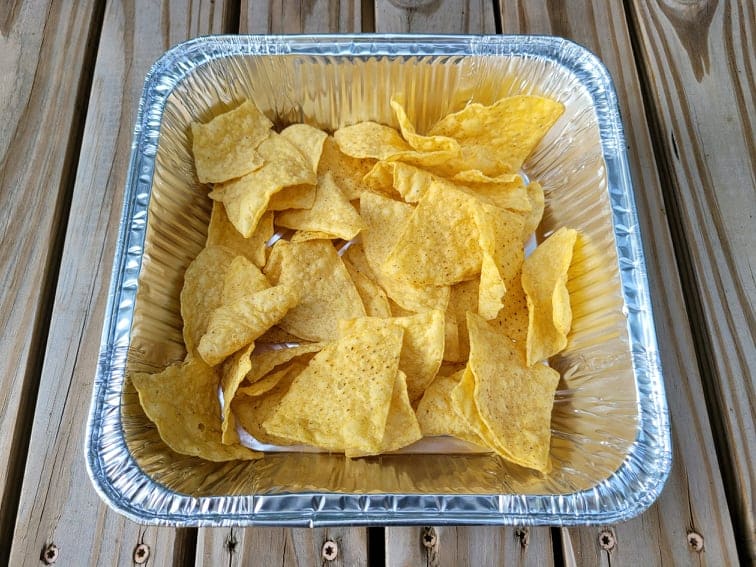
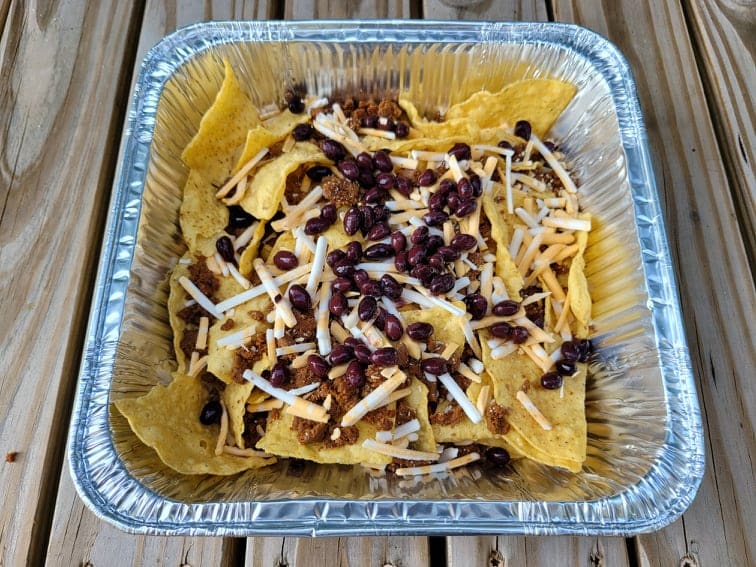
2. Place tortilla chips in the foil pain. There should be enough to cover the bottom of the pan, but leave room for a second layer of ingredients.
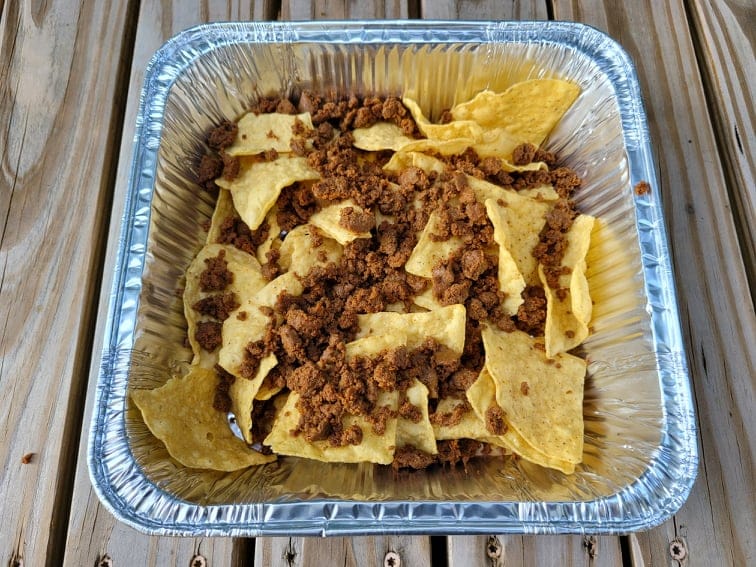
3. Evenly crumble half of the taco meat on top of the tortilla chips.
4. Sprinkle half a can of black beans on top of the chips and meat, then top with 1 cup of shredded cheese.
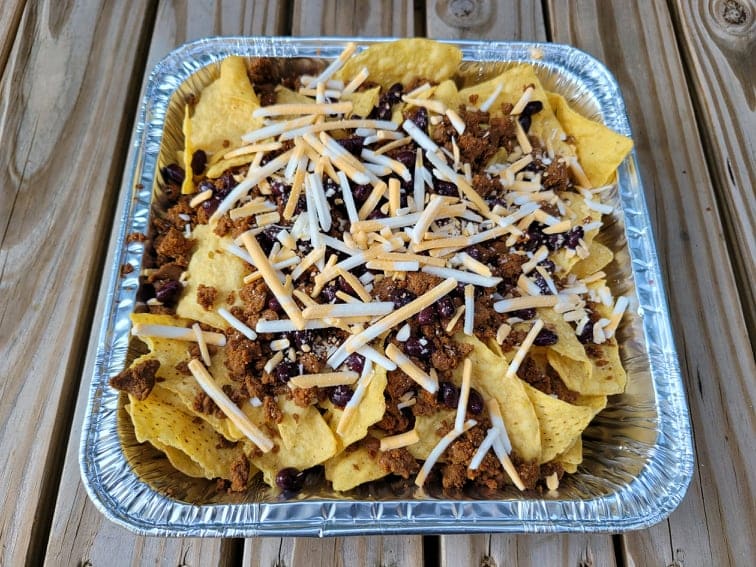
5. Place a second layer of tortilla chips on top of the first layer of ingredients, then add the remaining taco meat, beans, and cheese.

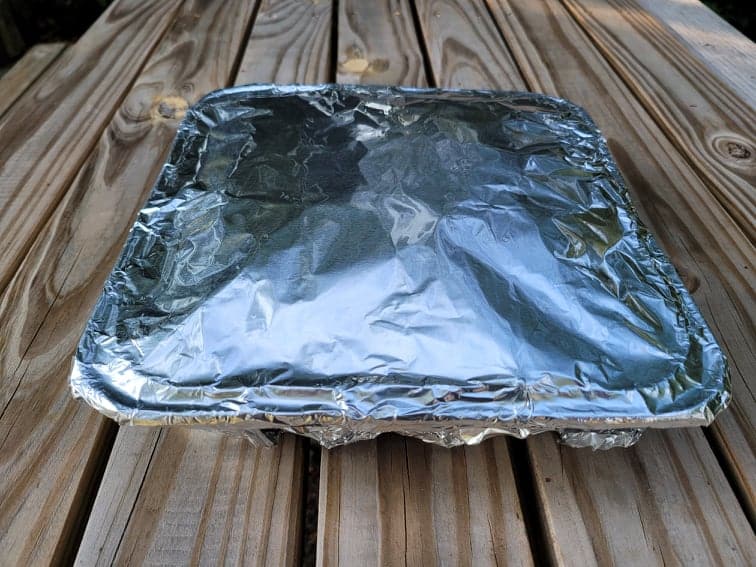
6. Cover the pan with a foil lid or with two pieces of heavy-duty aluminum foil wrapped in opposite directions to keep charcoal ashes out and prevent burning.
7. When the charcoal is ready to use, place about 6 briquettes on the ground in the fire pit and put the pan of nachos directly on top. Place about 8 charcoal briquettes on top of the foil-covered pan in an equally-spaced pattern. Use more charcoal if you’re using a larger pan.
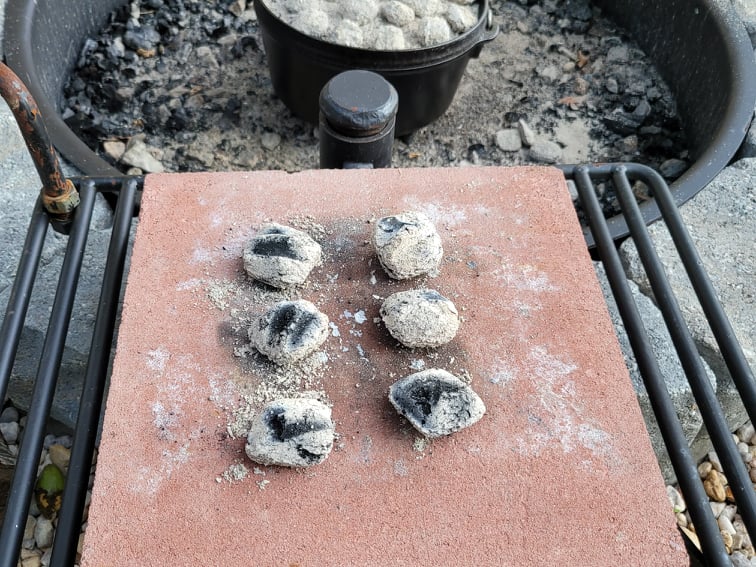
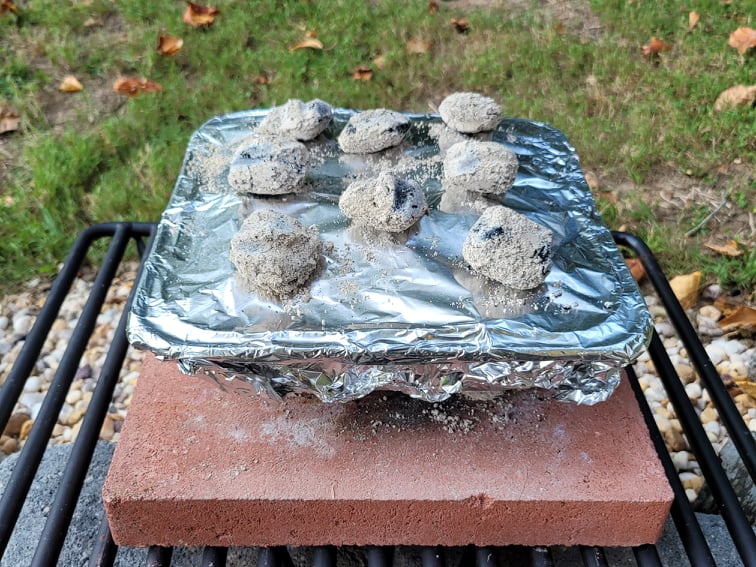
If cooking with a campfire: move some small, hot embers away from the fire and set the pan on top of them. Place small chunks of hot firewood embers on top of the pan, just like you would with charcoal briquettes. Make sure not to let the pan directly touch the fire to avoid burning the nachos.
*Note: Since the taco meat is already cooked, the goal is simply to heat the meat and beans and melt the cheese. Don’t overdo the charcoal or fire embers 🙂
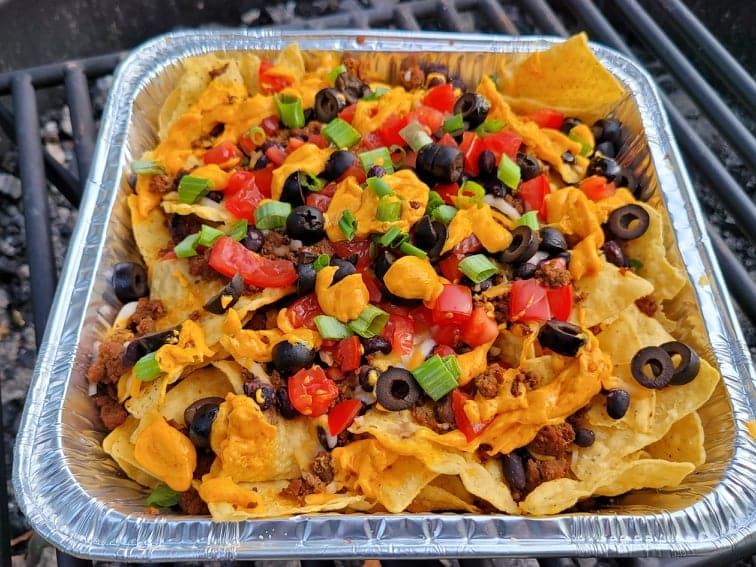
8. Let the nachos cook for 10-15 minutes, then carefully remove the charcoal and set the pan aside to cool for 2-3 minutes before removing the foil cover.
9. Top your camping nachos with sliced black olives, tomatoes, green onions, jalapenos, liquid cheese, and any other toppings you prefer, and enjoy!
Grilling Instructions:
Place the foil-wrapped pan of camping nachos on a pre-heated grill at approximately 375 degrees for 10 minutes, then garnish with toppings.
Recipe Card
Camping Nachos {with Gluten and Dairy-Free Options}
Ingredients
Equipment
Method
- Brown and drain the ground meat, then mix in the taco seasoning. Let the taco meat cool and store it in a ziplock bag in the cooler for up to three days.
- If using charcoal briquettes, prepare them now by lighting the charcoal chimney starter. You will have about 10 minutes to assemble the nachos before the charcoal will be ready to use. If you're unsure how to use a chimney starter, refer to this instructional article.
- Place tortilla chips in the foil pain. There should be enough to cover the bottom of the pan, but leave room for a second layer of ingredients.
- Evenly crumble half of the taco meat on top of the tortilla chips.
- Sprinkle half a can of black beans on top of the chips and meat, then top with 1 cup of shredded cheese.
- Place a second layer of tortilla chips on top of the first layer of ingredients, then add the remaining taco meat, beans, and cheese.
- Cover the pan with a foil lid or with two pieces of heavy-duty aluminum foil wrapped in opposite directions to keep charcoal ashes out and prevent burning.
- When the charcoal is ready to use, place about 6 briquettes on the ground in the fire pit and put the pan of nachos directly on top. Place about 8 charcoal briquettes on top of the foil-covered pan in an equally-spaced pattern. Use more charcoal if you're using a larger pan. If cooking with a campfire: move some small, hot embers away from the fire and set the pan on top of them. Place small chunks of hot firewood embers on top of the pan, just like you would with charcoal briquettes. Make sure not to let the pan directly touch the fire to avoid burning the nachos.*Note: Since the taco meat is already cooked, the goal is simply to heat the meat and beans and melt the cheese. Don't overdo the charcoal or fire embers 🙂
- Let the nachos cook for 10-15 minutes, then carefully remove the charcoal and set the pan aside to cool for 2-3 minutes before removing the foil cover.
- Top your camping nachos with sliced black olives, tomatoes, green onions, jalapenos, liquid cheese, and any other toppings you prefer, and enjoy!
- Place the foil-wrapped pan of camping nachos on a pre-heated grill at approximately 375 degrees for 10 minutes, then garnish with toppings.
Tried this recipe?
Let us know how it was!Want more camp cooking inspiration? Be sure to check out the Recipes section of the blog for more delicious and easy camping recipes!
This post may contain affiliate links. This means if you click on a link and make a purchase, I will receive a small commission, at no cost to you, that makes it possible for me to keep the Campfires and Cast Iron site up and running. Please see our disclosure policy for details.